
An organizational chart serves as a visual tool to show the reporting relationships within an organization. Such charts are very useful for inducting new employees. They are also good for illustrating managerial functions and the functions of employees in a large organization.
MS Word has easy to use pre-built templates for creating an organizational chart. We will show you how to create organizational charts in simple, easy, step-by-step instructions.
Open an existing document or a new document where you want to create the chart.
Click on the Insert tab in the top menu bar to change the ribbon.
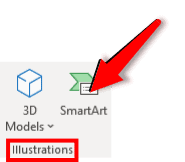
In the section Illustrations, click on the SmartArt icon.
This opens a new window for SmartArt Graphics with three panes.
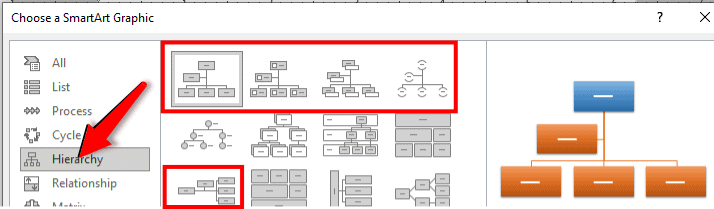
Click on Hierarchy in the left pane.
The middle pane shows many chart options.
The first four charts, as well as the ninth chart, are organization charts:
Click on the type of chart you want to select it.
As an example, we click on the first organization chart option.
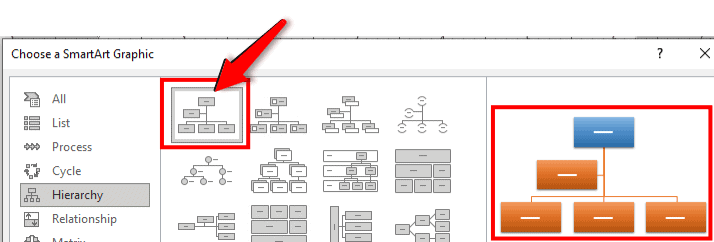
The right pane now shows a preview of the selected chart.
Click on the OK button at the bottom of the window.
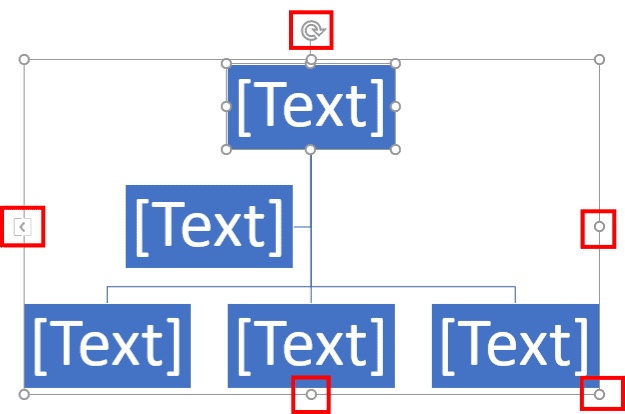
Word will now show the blank organizational chart in the document.
Use the handles (small circles and icons on the periphery, indicated in red squares below) to reposition and resize the chart.
While still in the SmartArt Design tab in the top menu bar:

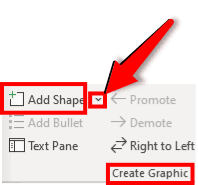
In the section Create Graphic, click on the Text Pane icon.
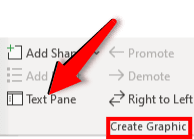
This opens the Text Pane.
The L mark denotes a branch in the chart.
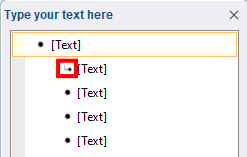
Click on each [Text] and replace it with a suitable name for your organizational structure.
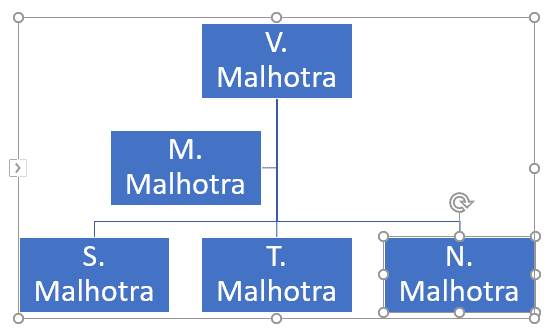
The organizational chart will now show the names.
Apply this step if you wish to indicate the designation of each member.
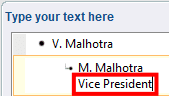
In the Text Box itself, click on the name for whom you want to add the designation.
Press the Shift key on your keyboard, and then Enter to move below the line.
Type the designation.
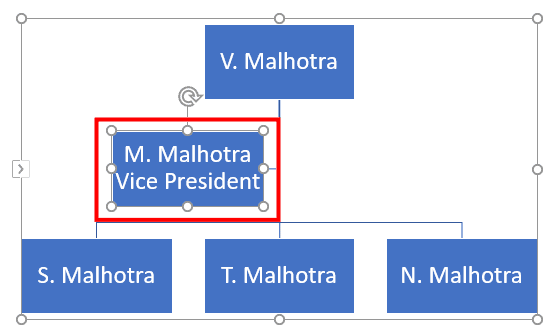
The chart shows the designation.
If your organization has more than 5 members, you will have to add more text boxes for all the members.
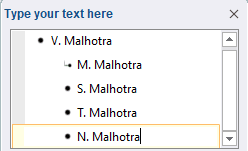
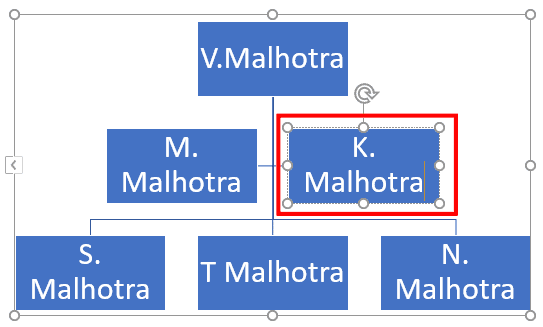
In the Text Pane, hit Enter after the last name.
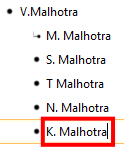
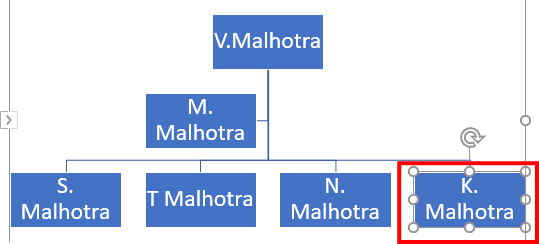
The chart shows the new name.

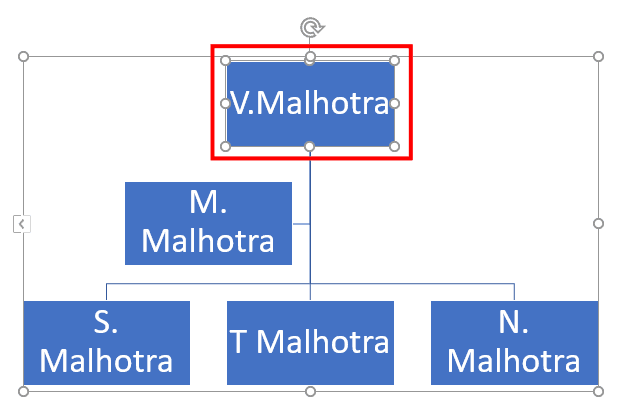
Under Create Graphic, click the Promote or Demote tab to reposition the new name in the chart.

If a member has an assistant, you would want to indicate this person differently on the chart.
Select the name of the person to which you want to add an assistant.
Under Create Graphic, click on the small drop down arrow next to Add Shape.
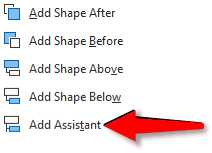
A new menu will open.
Click on the Add Assistant option at the bottom.
A new box will be added below the chosen name.
Open the Text Pane.
Enter a name in the blank space.
The chart now shows the new name.
Select the name you want to remove by clicking on the block.
Open the Text Pane, and delete the name
Hit Delete on your keyboard.
The organization chart shows the rest of the names.

We have shown you how to create an organizational chart in MS Word.
We have also shown you in simple steps how to move, add, and remove a name from the chart as optional ways to customize your chart.